
Shipping Container Retail Shop Design That Works
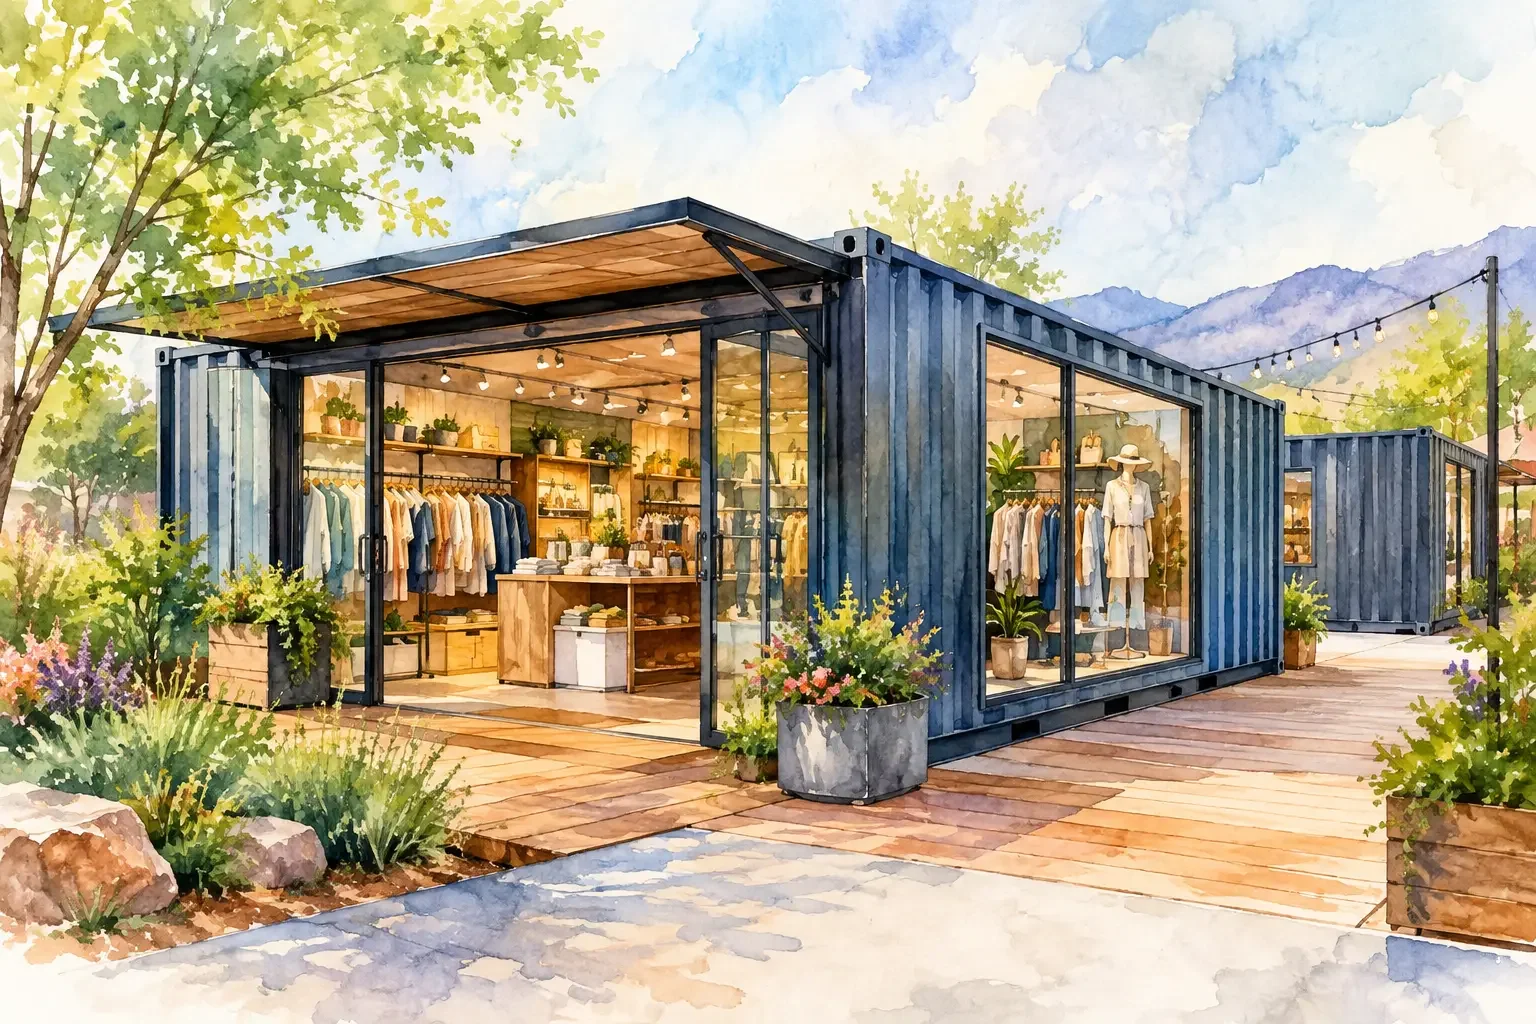
A good shipping container retail shop design starts with the sales transaction, not the container. Where do customers enter, browse, queue, pay, and exit? Where does staff store inventory, receive deliveries, and access electrical panels without disrupting the floor? Answering those questions early turns a steel box into a dependable retail asset rather than an attractive structure with operational gaps.
Container retail is a strong fit for pop-up activations, farm stands, ticketing booths, equipment showrooms, food and beverage service, campus stores, and permanent small-format storefronts. It can move faster than conventional construction, but speed depends on choosing the right footprint, modification scope, site preparation, and delivery plan before fabrication begins.
Start With the Retail Operation
A retail container should be sized around merchandise, customer volume, and staff workflow. A 10-foot container can work for a compact point-of-sale kiosk or seasonal pickup counter. A 20-foot container is often practical for a small shop with a sales floor, a counter, and limited backstock. A 40-foot unit provides more room for display zones, storage, changing rooms, or a service counter, but it also creates more site and delivery considerations.
The key decision is whether customers will enter the unit or purchase through a service opening. Walk-in retail needs a clear door location, circulation space, lighting, HVAC, and code-compliant egress. Counter-service retail can use a roll-up concession window or a custom service window, keeping inventory and employees secure inside while moving customers through an exterior queue.
Think through peak demand, not average traffic. A shop that serves ten customers an hour can be compact. A shop that releases merchandise, serves a festival crowd, or processes lunch orders needs a queueing area, weather protection, fast point-of-sale access, and enough staff room to restock without blocking service.
Choose a Container That Matches the Build
Container condition affects both appearance and project budget. One-trip containers offer a newer exterior and a cleaner starting point for customer-facing applications. Used containers can be a cost-effective choice when exterior paint, cladding, and interior finishes are already part of the design. Refurbished units can provide a practical middle ground for buyers focused on function and a presentable finish.
Standard-height containers work for many retail concepts. High-cube containers add approximately one foot of interior height, which can make a noticeable difference when the plan includes insulated ceilings, lighting, ductwork, tall shelving, or a more open customer experience. That added height can also help when the container needs to accommodate commercial refrigeration or a finished ceiling.
Do not select a container only by its exterior dimensions. The interior width is limited, and insulation plus wall finishes will reduce it further. A narrow apparel boutique, for example, may need merchandise displays on only one side of the aisle to preserve accessible circulation. For some concepts, two containers placed side by side or joined with a covered breezeway create a more usable sales environment than one long unit.
Build the Layout Around Customer Flow
The strongest layouts make the next step obvious. Place the primary entry where customers naturally approach from parking, a sidewalk, or an event path. Keep the checkout counter visible from the entrance when security and staffing are concerns. Position backstock near the receiving side of the container so employees are not carrying cartons through a customer area.
For walk-in shops, protect the middle of the floor. It is tempting to fill a compact container with fixtures, but crowded aisles make browsing difficult and can complicate accessibility requirements. Wall-mounted shelving, slatwall, pegboard, fold-down counters, and vertical displays generally use space better than bulky freestanding fixtures.
A service window layout has different priorities. The counter should be at a workable height for staff and customers, with adequate depth for payment equipment, packaging, and product handoff. A roll-up door can create a wide opening for high-volume service, while a smaller framed window may better suit a controlled retail counter. Include a lockable closure for every opening, especially for overnight or unattended locations.
Design for Inventory and Security
Retail containers are valued partly because the steel shell provides a secure enclosure, but the security plan must extend to doors, windows, and merchandise. Personnel doors, lockboxes, security bars, reinforced hardware, and interior lockable storage can be specified according to the site risk and operating schedule.
Inventory storage deserves more space than many first-time buyers expect. Reserve a dedicated zone for cartons, supplies, cleaning materials, bags, and replacement merchandise. If the container will operate at festivals or rotating sites, design for quick loading at the end of an event. Shelving should be anchored and fixtures should withstand transport if the unit will move regularly.
Plan Utilities Before Cutting Steel
Electrical, HVAC, lighting, plumbing, and communications should be designed as one system. Cutting openings after finishes are installed adds cost and can create avoidable rework. A retail unit may need only lighting and point-of-sale power, or it may require a full electrical panel, receptacles, exterior lighting, mini-split HVAC, water supply, drainage, and dedicated circuits for refrigeration.
Lighting should support the product and the work. Bright, even general lighting helps customers browse, while targeted lighting can draw attention to display walls or featured products. Exterior lighting improves visibility after dark and supports safer customer access. If the shop operates outdoors, specify weather-rated fixtures and protect exposed connections.
Temperature control is not optional in many U.S. markets. Steel transfers heat quickly, so HVAC performance depends on insulation, interior finish selection, air sealing, and the amount of glazing. A container with large windows may look inviting, but it can increase solar heat gain and cooling demand. Insulated walls, a properly sized mini-split, and shaded openings often provide a better balance between appearance and operating cost.
If food, beverages, cosmetics, flowers, or temperature-sensitive products are involved, determine the required storage conditions before finalizing the build. A reefer container may be the right answer for cold inventory, while a retail container can handle the customer-facing transaction. Combining the two can keep refrigeration equipment and stock management separate from the sales floor.
Make the Exterior Work for the Site
The exterior should communicate the business from the approach road or pedestrian path. Paint, vinyl graphics, signage zones, awnings, window placement, and branded colors all matter, but they should support visibility and durability. Avoid placing permanent signs where container doors, service openings, or delivery equipment will interfere with them.
An awning can improve the customer experience by providing shade and light rain protection at an entrance or service counter. It also affects wind loading, clearance, drainage, and transportation dimensions. Features that project beyond the container may need to be removable, folded, or installed after delivery.
The site itself is part of the design. Customers need a stable, accessible path to the entrance. Staff need room for deliveries and trash handling. Delivery drivers need a clear route, adequate turning space, and a placement area free of overhead obstructions. Depending on the container size and site conditions, installation may require a tilt-bed truck, crane, forklift, or other handling plan.
Address Permits, Accessibility, and Local Requirements Early
A shipping container retail shop design may be treated as a temporary structure, a commercial building, or a modular structure depending on the jurisdiction and how it is used. Local building, zoning, fire, health, electrical, and accessibility requirements can shape the design. This is especially true for units open to the public, units with plumbing, and permanent installations.
Confirm requirements before fabrication begins. Door widths, exit paths, ramp slope, restroom needs, occupant load, fire-rated materials, utility connections, and foundation details can all affect the layout. For food service or regulated retail, local agencies may also have requirements for handwashing, sinks, surfaces, refrigeration, and waste handling.
A container supplier can help translate operational needs into doors, windows, insulation, electrical packages, HVAC, shelving, paint, and delivery specifications. For more complex commercial builds, Conexwest can support a configured approach that accounts for the unit, modifications, and transportation as connected parts of the project.
Use Modularity as a Business Advantage
The practical value of container retail is not simply that it is compact. It is that the shop can be deployed where demand exists, expanded in phases, relocated when a lease changes, or repurposed when the business evolves. A first unit can serve as a flagship kiosk, then become overflow inventory storage when a second customer-facing container is added.
That flexibility only works when the first build anticipates future connections. Plan where a second container could sit, where utilities could extend, and how customers would circulate through an expanded footprint. A well-planned retail container should fit the opening-day operation while leaving room for the next business decision.
The best final design is one your staff can operate confidently on a busy day: doors open easily, products stay protected, customers understand where to go, and the container arrives ready for its job.