
Container Site Planning Guide for Delivery
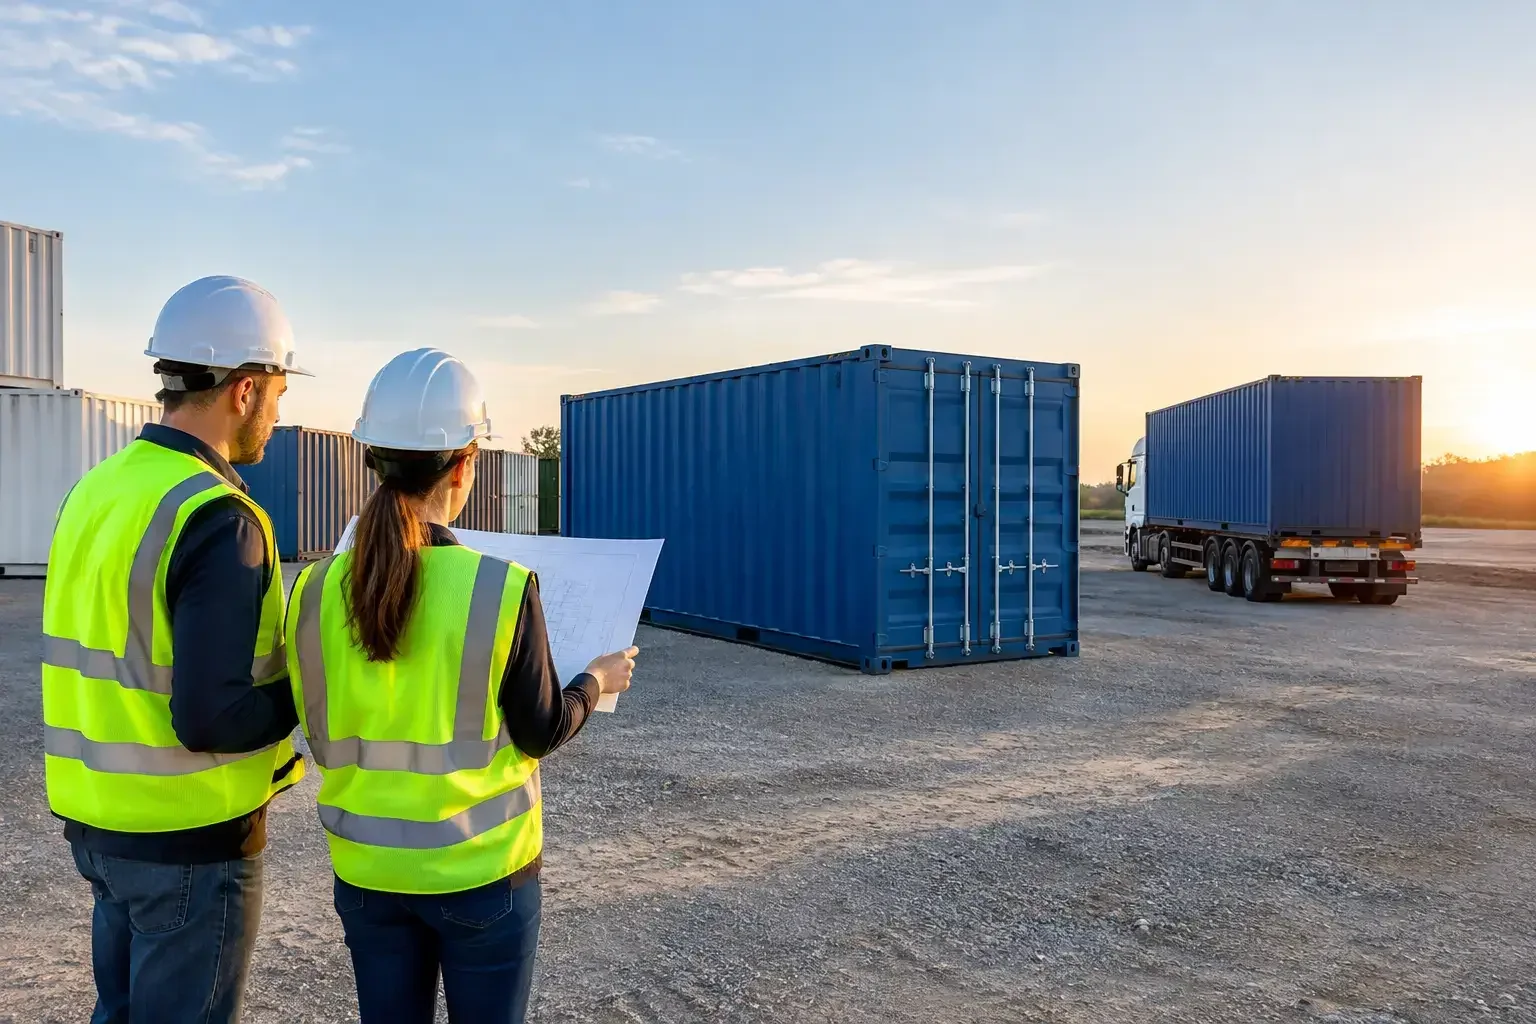
A shipping container can arrive in a matter of hours, but the site decisions made before delivery determine whether it becomes useful infrastructure on day one or an expensive obstacle. This container site planning guide focuses on the practical items that affect placement, delivery access, safety, and long-term performance.
Whether you are adding secure jobsite storage, a ground-level office, a reefer unit, or a custom container structure, start with the operational need. Define what will go inside, how often people will access it, what equipment must reach it, and whether the unit may need to move later. Those answers shape nearly every planning decision that follows.
Start With the Container's Job
A container used for seasonal equipment storage can often sit in a straightforward gravel yard with clear truck access. A container office with HVAC, electrical service, staff traffic, and customer-facing finishes requires more planning. The same is true for refrigerated containers, which need reliable power, ventilation around the machinery, and room for loading activity.
Before selecting a location, confirm the container size and configuration. Standard units are commonly 20 or 40 feet long, while high-cube containers provide additional interior height. Door orientation matters just as much as length. If personnel doors, roll-up doors, windows, shelving, or electrical panels are part of the build, their location should support daily use rather than simply fit the container into an open corner of the property.
Think beyond the container footprint. A 40-foot container occupies roughly 320 square feet, but its working area may be much larger once you account for door swing, forklift movement, parking, pedestrian paths, and truck maneuvering space.
Confirm Local Requirements Before Committing
Container placement rules vary by city, county, zoning district, and project type. Some jurisdictions treat a container as temporary storage, while others regulate it as an accessory structure, temporary building, or part of a commercial construction project. A container office or a modified unit with utilities may trigger additional review.
Contact the local planning or building department early and ask direct questions about permits, setbacks, duration limits, screening requirements, fire access, and utility connections. If the container will be used for retail, food service, healthcare, education, or occupied workspace, requirements may extend to accessibility, egress, ventilation, plumbing, and fire safety.
Do not assume that a container is exempt because it is movable. The right approach depends on how the unit will be used, how long it will remain in place, and the rules that apply to that specific property. Getting clarity before fabrication prevents avoidable redesigns and delivery delays.
Plan a Foundation That Matches the Use Case
Containers are designed to carry heavy loads through their corner castings. For a level installation, the corners need firm, consistent support. The best foundation is not always a full concrete slab. It depends on the soil, drainage, container weight, use, and whether the site is permanent or temporary.
For many storage applications, compacted gravel with concrete blocks, piers, or railroad ties placed beneath the corner castings can provide a practical, cost-conscious base. The support points must be level and properly positioned. A container that twists or settles can make doors difficult to operate and place unnecessary stress on the frame.
A concrete pad may be appropriate for office containers, high-traffic commercial applications, multi-container builds, or sites with poor soil conditions. Slabs also simplify accessibility and create a cleaner transition for carts, pallet jacks, and personnel. In frost-prone areas, local conditions may require deeper footings or engineered support.
Drainage deserves the same attention as bearing capacity. Water should move away from the container rather than collect beneath it. Standing water accelerates corrosion, creates muddy access, and can undermine the base over time. Raising the container slightly above grade improves airflow under the floor and supports drainage.
Map Delivery Access From the Street to the Pad
Delivery access is often the item that catches project teams off guard. The container needs a prepared destination, but the truck must also be able to enter the property, turn, position, and exit safely. Measure the entire route, not just the final placement area.
Check gate widths, road conditions, turning radii, overhead wires, tree branches, low bridges, parked vehicles, slopes, and soft ground. A delivery truck carrying a container needs more clearance than a passenger vehicle or pickup. If the site has a narrow entrance or limited turning space, delivery method and container orientation must be coordinated in advance.
Ground conditions matter most after rain. A route that appears usable in dry weather may not support a loaded truck when soil is saturated. Construction sites should also account for temporary stockpiles, excavations, cranes, fencing, and other trades that can block access between scheduling and delivery day.
Keep the approach and set-down area clear. Remove vehicles, materials, and equipment from the route, and make sure a responsible site contact is available when the truck arrives. Clear communication on the exact placement location helps prevent last-minute changes that add cost or risk.
Set Clearances for Doors, Utilities, and Daily Work
A container should be placed for how it will operate, not merely where it fits. Cargo doors need enough room to swing open fully and allow safe loading. A roll-up door may need a forklift approach lane. Personnel doors need a stable walking surface, lighting, and space for emergency exit. If the unit is customer-facing, consider parking, pathways, signage, and appearance from the street.
Leave room around mechanical equipment. Reefer containers require airflow around the refrigeration machinery and a dependable electrical connection. HVAC condensers, vents, and electrical service panels also need unobstructed access for maintenance. Positioning a modified container too close to a wall, fence, or another unit can reduce performance and complicate repairs.
For utility-equipped containers, identify the source of power, water, sewer, data, and any required trenching before delivery. It is usually more efficient to bring utility connections to the planned container location than to relocate a completed unit later. Call the appropriate utility locating service before excavation and coordinate licensed trades for permanent connections.
Plan for Security, Safety, and Site Conditions
Containers are inherently durable, but site planning can improve security substantially. Place the doors where they can be monitored by staff, cameras, or site lighting. Avoid isolated locations that create concealed access points. Lockboxes, high-security locks, window protection, exterior lighting, and fencing may be worthwhile based on stored inventory and site exposure.
Safety planning is equally practical. Maintain fire lanes, emergency access, and required separation from other structures. Keep walkways clear of mud, ice, standing water, and uneven grade. If people will regularly enter the container, provide safe steps, landings, ramps, or accessible routes as required for the application.
Environmental exposure should guide material and finish choices. Coastal properties, chemical environments, heavy snow areas, high-wind locations, and extreme heat all place different demands on a container installation. Insulation, ventilation, paint systems, anchoring, and corrosion protection should be selected for the actual site conditions, not just the initial purchase price.
Coordinate Fabrication With the Final Layout
The most efficient container projects connect site planning to customization before fabrication begins. Door locations, window placement, electrical panel orientation, exterior outlets, HVAC equipment, and shelving layout should align with the final site plan. A well-configured container reduces field modifications and gets operations running sooner.
For example, a construction team may need a personnel door facing the active work zone, shelving on the opposite wall, and an electrical panel near the utility trench. A retail operator may need a service window facing pedestrian traffic and secure storage doors facing the rear. A cold-storage operation may need the reefer machinery positioned where maintenance crews can reach it without disrupting loading.
Conexwest can support this process by combining container selection, custom modification, and delivery coordination. For complex builds, share a site sketch, photographs, measurements, and the intended use early. Small details identified before fabrication are easier to solve than field changes after delivery.
Build a Site Plan That Works on Delivery Day
A useful site plan does not need to be complicated, but it should show the container footprint, final door orientation, support points, truck route, overhead obstacles, utility locations, drainage direction, and working clearances. Review it with the project manager, site superintendent, property owner, and delivery coordinator before scheduling.
The strongest container installations are planned around real work: where the truck can travel, where employees can move, where utilities can connect, and how the asset will perform through changing weather and operating demands. When those conditions are prepared first, the container arrives ready to support the job instead of creating another task for the site team.